A few days ago,
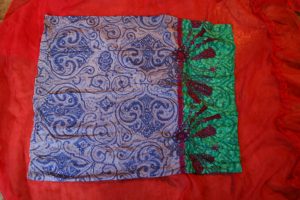
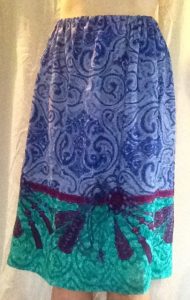
I ground-scored this half-finished skirt in a free pile!!!
The skirt was already hemmed,
so all it needed was a waistband…
Thankfully, there was some matching elastic in the pile as well!!!
Double Score!!!
So I cut my elastic to the length of my waist where I wanted the skirt to sit.
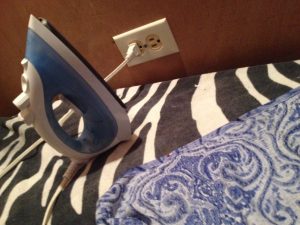
Then I folded, pinned, and ironed the side of the fabric
where the waistband would be going.
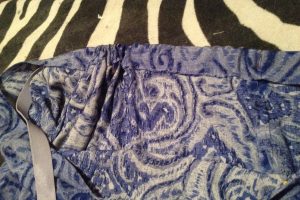
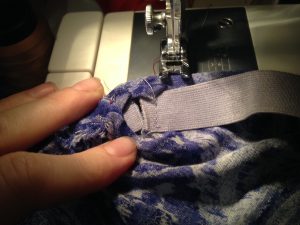
The red sew line near the back seam is where I sewed the elastic into the skirt.
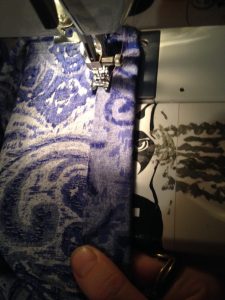
You’re going to pin and sew the fabric around the elastic to create this type of waistband.
There are other ways of making a waistband where you sew the elastic to the fabric,
but for this style we want to avoid that.
Think of it as making a tube around the elastic and sewing it shut.
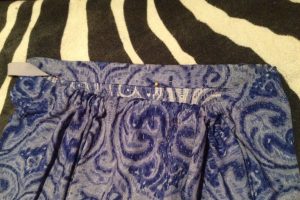
Because the elastic is about half the length of the fabric,
you have to stop and scrunch.
Sew as much as you can,
stop to scrunch the fabric around the elastic,
straighten the bit you’re going to be sewing,
fold, pin, iron if needed,
and then resume sewing.
Repeat.
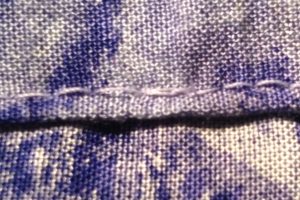
I don’t double stitch when I stop to scrunch, only when I resume.
That way you don’t have so many obvious stitches,
and the back-stitch on the start up will hold everything in place.
See, you can barely tell!!!
When you get close to the end,
scrunch one last time to get everything out of the way.
Then sew the end of the elastic into the skirt next to the other end:
Then flip the fabric around the elastic again,
straighten everything out,
finish sewing the waistband shut, and you’re done!!!
TA-DAAAAAA!!!!
To Art Walk, to Art Walk
To sell a Sweet Skirt.
Made with Love
for Someone who Loves it!!!
<3

