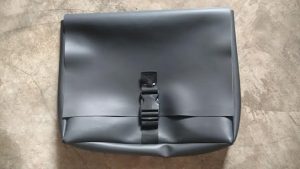
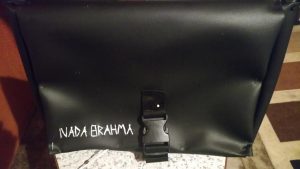
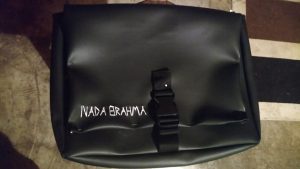
Chillin in the Cabin with the Homies,
Fernando mentioned that he needed a small bag for his laptop…
Dude.
“I can help wit that!!!”
So we set a date
and went to the fabric store to pick out materials.
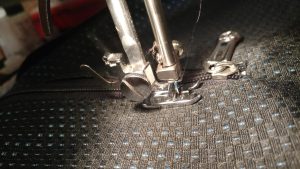
I was warned by the salesman about the weight of the fabric,
and I don’t have a heavy-duty needle for the sewing machine.
I made sure to do a stitch-test before getting started.
I cut the pattern based on measurements I had taken of the ipad case
and an oldie bag that Fernando provided for me to piece-out.
But I didn’t have enough fabric to cut a second if I messed up,
so I would have rather cut it too big than too small.
But then it was too big…
: P
I was like,
“Dude,
you could fit the laptop,
a towel,
AND
a change of clothes in here!!!”
So, ok…
Take 2
A much better fit!!!
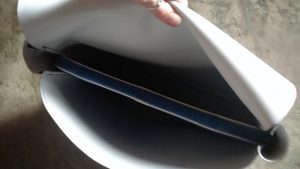
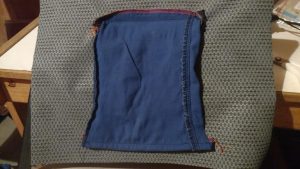
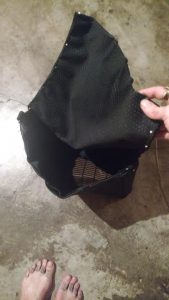
NOW for the LINING!!!
Because of the fabric that we chose for the lining,
(The wrong side was sticky,and the right side was super slick)
some of it had to be hand-sewn.
If it was wrong-sides together,
it’ud stick to itself and you could machine sew it.
BUT
When you put right-sides together and tried to use the machine,
even with pins,
even with stay-stitching,
the wrong sides got stuck to the foot, and the right sides slipped.
If it was right-sides together, it had to be hand-sewn.
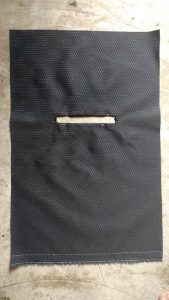
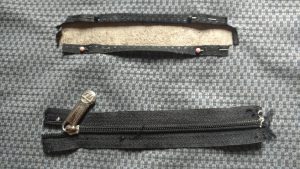
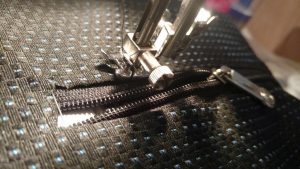
Measure(twice!)/Cut Zipper Hole
Pin in Place
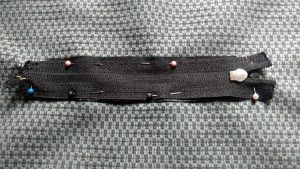
Line up Zipper with Hole
Pin in Place
Make sure your pins are right!
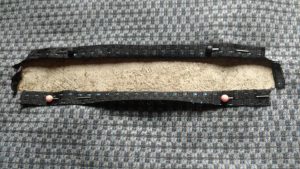
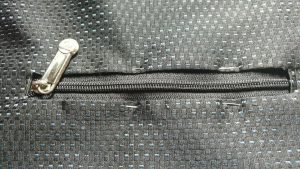
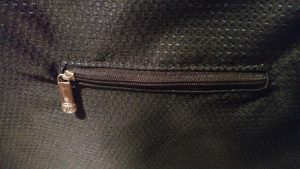
Sew in place
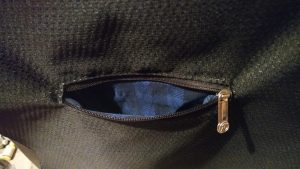
Usually, I would sew the pocket in AS I sewed in the zipper,
But because of the fabric, it was easier to get the zipper in
and then top-stitch it in place.
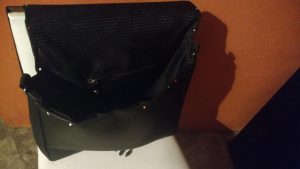
I did some custom stitching and attached a clip to the outer shell before attaching the lining.
Pin the lining into the outer shell.
Stay tuned for the Final Product!!!
<3

