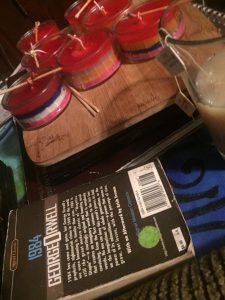
Every year I hand-craft my Holiday presents for the Homies,
but this year I was having a little trouble deciding what to make.
Then I came across a bunch of these cool little glass jars in a recycling bin
and was all like, “I can make candles outta these!!!”
THANKS PORTLAND!!! <3
Flash Forward:
I was lamenting Joann’s lack of candle-making supplies to my roomie
when he was all like, gurrrrl I gottchu.
Turns out he had a whole box of old scrap candles and supplies!!!
So I got to work turning Junk into G.h.unk!!!
Step 1:
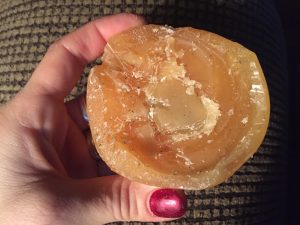
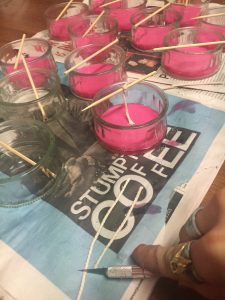
Scrape away all burnt pieces with xacto knife.
We don’t want any of that black carbon wax ending up in our candles,
so scrape as best you can. But don’t worry if you can’t get it all,
the black pieces sink to the bottom of the melted wax pot,
so as long as you stop short on your pour (before the black gets in your candle) you’re good.
Step 2:
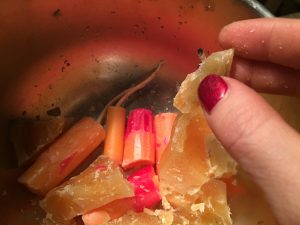
Differing colors.
If you’re making a layered candle,
make sure you keep your colors separated
or else you’ll end up with a poop-candle.
The candle pictured was made using a dip technique,
so it’s actually two different colors.
I wanted only the red wax in this melting pot,
so I used my knife to scrape the outer layer into the bowl.
Step 3:
Removing Old Wicks
Same as with the black carbon bits,
you don’t want any old wicks in your new candle.
But same as with the black bits,
don’t worry if you can’t get all the pieces,
they sink to the bottom too.
Step 4:
Melting
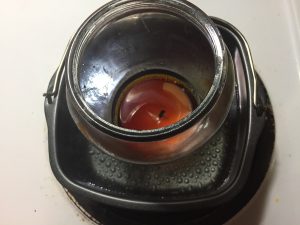
I got this tiny square pan from goodwill for $1 (Heeeeeeyyyy!!!)
and a couple little metal bowls for melting wax (also $1 each!!!).
Just put water in your bottom bowl and bring to a boil.
Put your melting pot in the water and wait.
****
You don’t want to melt in anything that you’re going to keep or use for cooking
because leftover wax is notoriously hard to remove from said containers.
I find it easier to have bowls that are designated for candle-making
than it is to try and get excess wax out of your melting pots.
Step 5:
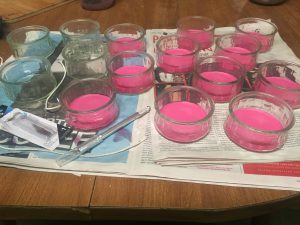
Pour 1st Layer
I didn’t want my wicks to be visible from the bottom,
so I poured the first layer of wax before adding the wicks.
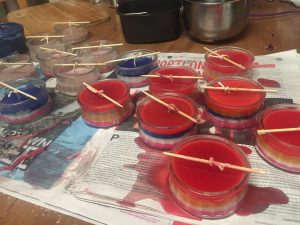
Make sure you put paper down to protect your work space!!!
Wax is super tricky to get out!!!
Step 6:
Add Wicks
Wait for the first layer of wax to harden before adding wicks.
Measure your wick length and cut accordingly.
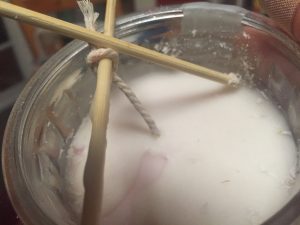
You can use a cut skewer to hold the wicks in place while you pour.
Step 7:
Melt & Pour Next Layer
Repeat the melting process with consecutive colors.
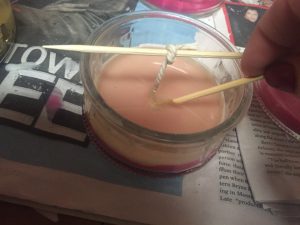
Press the wick into the wax with a skewer
while it’s still wet to make sure it stays.
Step 8:
Clean it UPPPPP!!!
Sometimes when pouring melted wax,
it likes to get all over the sides of the container.
Jus take your skewer and rub away any excess wax.
Do this for each layer as necessary.
Step 8:
Repeat for Each Layer
(Now you see why we make sure to put paper down)
;D
Continue the previous melt/pour/wait/cleanup steps
till you have all your desired layers!!!
Once the final layer has been poured and hardened,
you can remove the skewer from you candle
and you’re goooooood to GO!!!
Package and Gift to your Favorite Friends!!!
<3<3<3

